I've had on ongoing problem with my Great West Van Legend bathroom skylight leaking. It only leaked when the back was slightly higher than the front and only during heavy rains. So it could be frustrating in that sometimes it didn't leak and sometimes it did. It never seemed to leak when driving and it never leaked when parked at home. When it did leak it came through and dripped inside the quarter round electrical chase cover in the bathroom and then flowed one way or another until it found an outlet. It really became a problem in the Florida Keys when we were experiencing an 8 inch one day heavy rainfall. We had to abandon our stay and head for drier areas. We did manage to get the leak (we thought) fixed at a dealer in Florida. I'm not sure what it looked like before but they essentially frosted the whole skylight with caulk in hope of stopping wherever the leak was. This is the result.
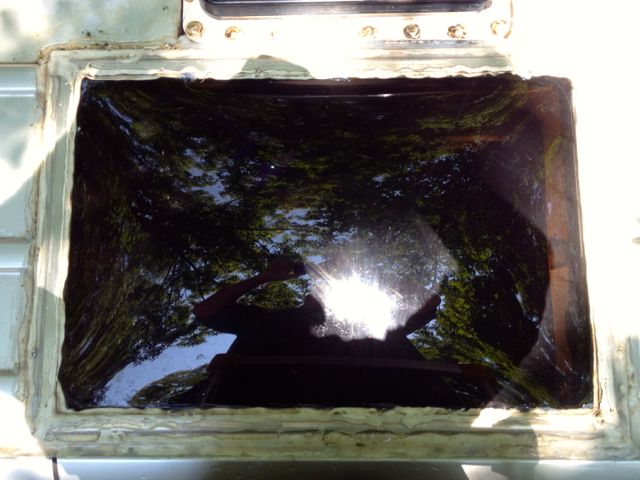
The leak came back the next time we encountered a heavy rain so obviously the "fix" did not work.I removed all the caulking. After I removed the caulk it rained again and it didn't leak. What I discovered is there is a 1/4" gap about about an inch deep between the skylight frame and rain gutter. When I removed the caulk that was filling the gap I found it was not adhering to the metal roof where the skylight met the roof and that there was standing water under the caulk. Rain water was flowing in, getting trapped and then into the bathroom. So all the glopped on caulk was not doing the job. There was still a leak letting that water in. Also, a lot of the caulking came off clean from the surface meaning it was not adhering properly.
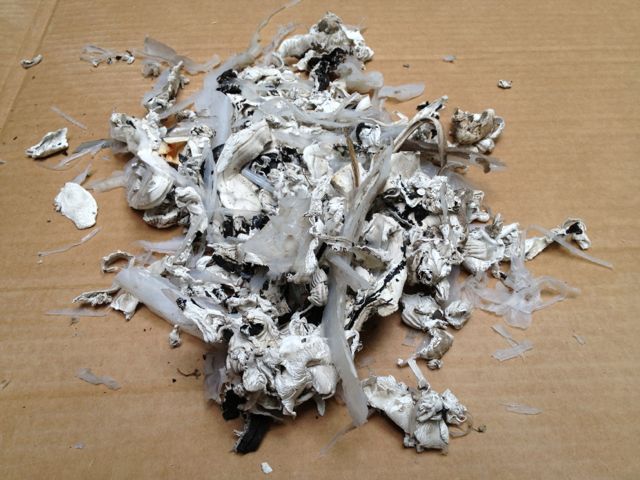
This is most of the amount of caulk I removed. Believe it or not my recaulking used just a half of a tube.
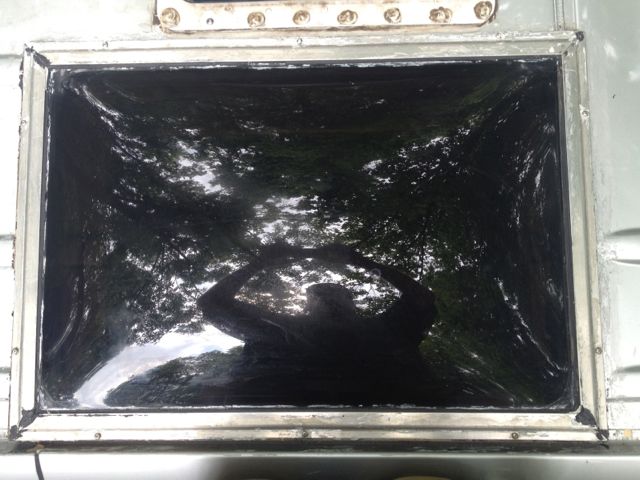
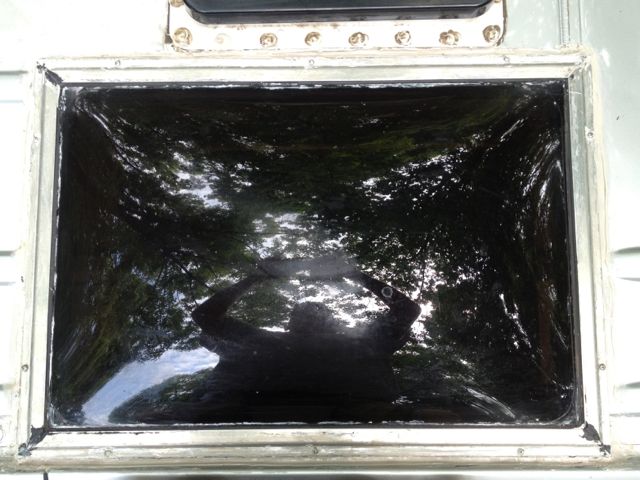
This is the skylight after I removed the caulk with lots of scraping.
This is the gap and the caulk never touched the metal where the skylight frame met the deck otherwise there would have still been a film of caulk I could not easily have removed.
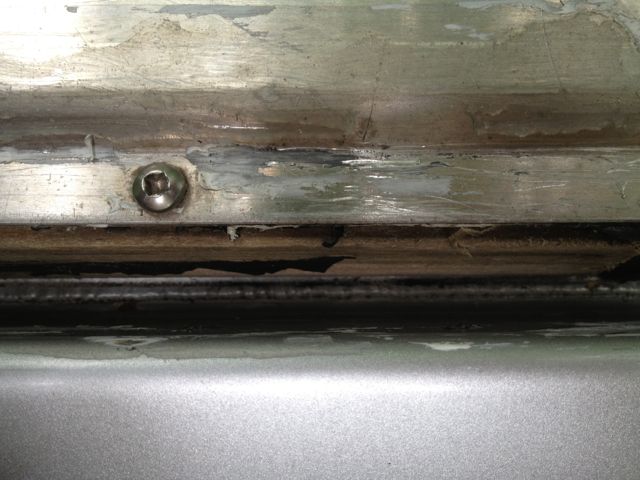
There is no standard tool to tool a 1/4" x 1" deep joint and the caulking gun nozzle can't reach that depth. It was a sloppy job and poor design to create a situation you can't tool easily to make it water tight. With the caulk removed the water when it rained was not getting trapped and was flowing by fast enough to not flow into the bathroom, at least in any detectable or appreciable amount. So all the dealer repair evidently didn't fix the original design flaw and poor installation.
Since the skylight seemed to be doing its job without the caulk I opted not to dissemble the skylight even though the extra step might have further helped sealing it at the deck if done right. I just decided to recaulk around the skylight and make sure there was 100% coverage. In order to fill that gap properly I devised a 5/16" wood dowel tool with a rounded tip to push the sealant down into the narrow gap and joint.
This is the recaulk. Not quite as frosted. I used a better grade of sealant than the rubberized acrylic previously used. This time I used GE Silicone II sealant for exterior waterproofing. It is about 3X expensive than acrylics. But then who cares with one tube.
I took a hose to it with a continuous deluge of water and there were no leaks. Only time will tell and another major rain storm to determine if I solved the problem. Didn't think I would be wishing for rain before heading out on a trip again.
I'm out of warranty. In some respects that is good. I think I know repair better. It's now my responsibility. The light switch I changed out was another example that was done once previously under warranty only to fail a second time.