This probably could have been put in the solar and roof paint discussion, but it may also be interesting as a stand alone. I have seen numerous posts on other boards about mystery leaks in the front and rear of Roadtreks, and this surely could be one possible source. We had not had any leaks to this point that we know of.
I took off the roof running lights so it would be easier to paint the roof, and to keep the paint from melting into the foam gaskets. (07 Roadtrek C190P). I found a few interesting things. One lamp was loose, with bondo stuffed under it to try to hold it in place due to a dip in the roof fiberglass, and then a stripped mounting screw hole when they had tried to pull it down. Luckily the gap was near the bottom so leaks could get back out. Two of the front lights had peeling chrome from the plastic base. Three of the eight lights had gaps in the wire caulking through the roof, although there is no way to tell if it was always that way, or happened when I lifted the light out of the base. The wires plug into the lamp, not connected to the base, so you have to lift the lamp slightly, reach under with a long nose pliers and pull the plug connectors off. The wires are very short and there is virtually no room for them under the lamp. All and all, it is a very poor setup and looks like leaks waiting to happen. I am used to the old bulb style (these are LED) where the base has a seal to the body and is screwed down. The wires come through into the base and attach to the bulb socket. The lens is snapped or screwed into the base against a gasket. Relatively leak free, and is serviceable. What they did with these was make a "sealed" combination lens, bulb (LED and electronics) which snaps into the base, but needs the wires connected to it before it can be snapped in. The base has a seal around the perimeter, but the lamp assembly doesn't have any seal. There are gaps that would let water into the base, inside the seal area. At that point all that keeps the water out of the van is the caulking on the wires through the roof, and you don't know if that is intact because it gets mashed and moved around when you force in the lamp assembly.
Here is the original base
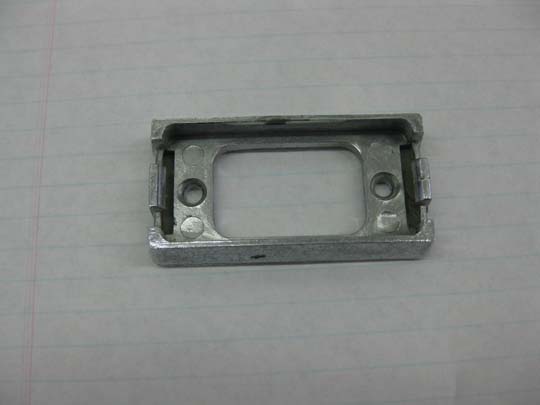
And what it looks like from the bottom when it has the lamp in it
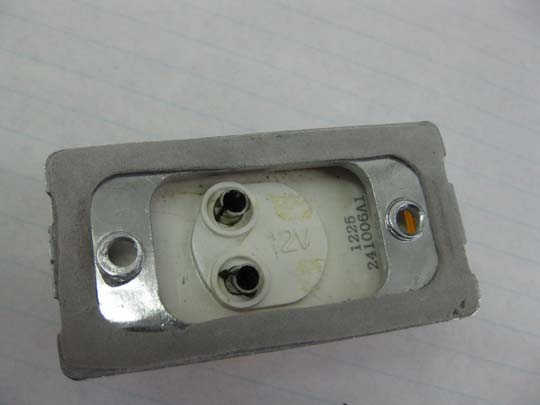
This is the lamp from the bottom
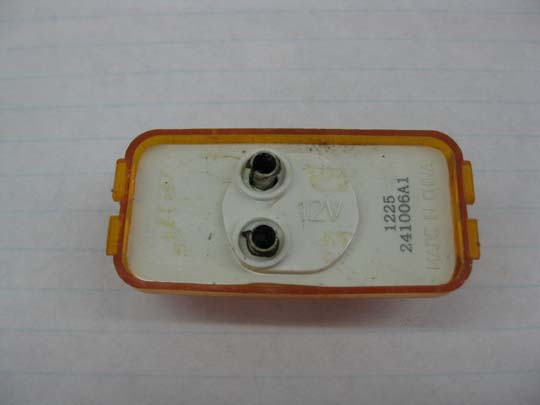
Lamp from the side, you can see the snap in ears
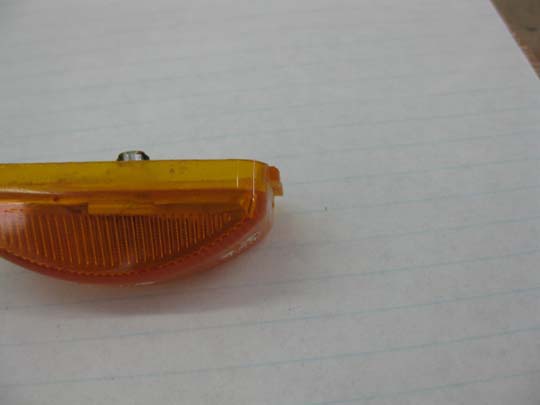
This is where it gets weird. This is the assembly with the gasket moved over a small amount. It doesn't seal there, so it would be open as shown even if in place. I put a flashlight on the opposite side and you can see light coming straight through, inside the gasket. Water would follow the same path.
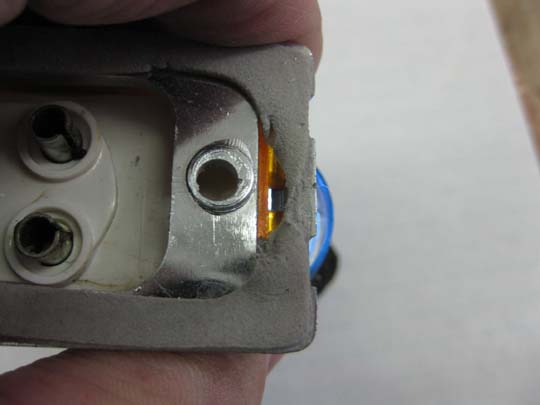
Here is the base at an angle. Once the water gets past the gasket, it can go right to the lamp, as the base sits up a bit on bosses at the screw holes. (so the screws tighten when the gasket is in place). There is nothing to keep the base from filling with water.
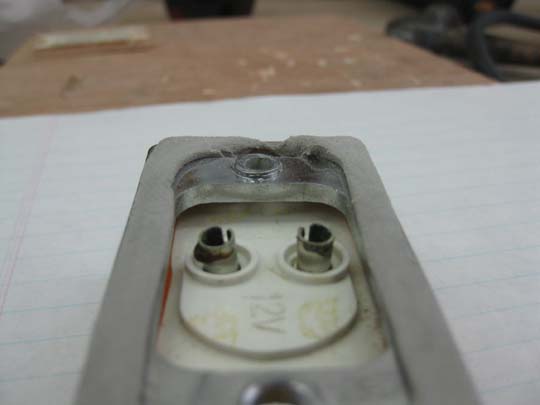
Here is what the van wiring looks like. 90* connectors into the lamp pins, and the wires and connectors have to be squeezed into the tiny volume of the base. This also shows the repair of the low spot and stripped hole.
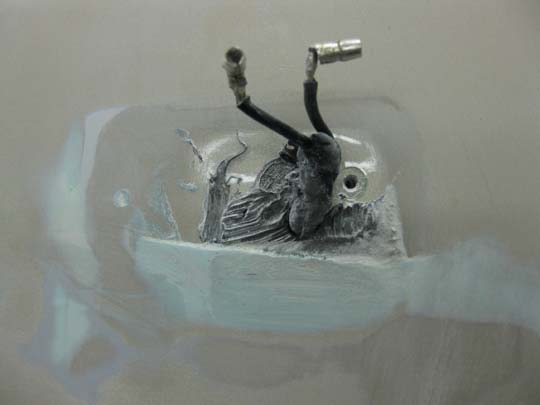
I went searching for other lamps or bases that would work better. All I found was another base for the same lamps that said it had an integrated ground and hotwire. I was very happy, as that would allow me to mount the base, connect the wires to the base, seal the wire holes well, and snap in the lamp without disturbing the seal. I wasn't so happy when the bases showed up. They had an integrated ground mount, but the hotwire was just a loose wire with a plug on it.
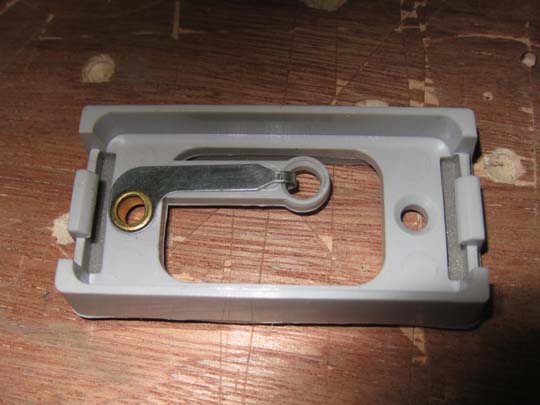
No help there, plus the rivet in the screw hole made it almost impossible to snap the lamp in. I had ordered extra bases because I wanted to have some to do some paint adherence testing, so I decided to try to modify the based into what I thought I was getting in the first place.
I drilled out the rivets on two bases and removed the contact and rivet remains, then cut of the ring at the end of them so it would be out of the way.
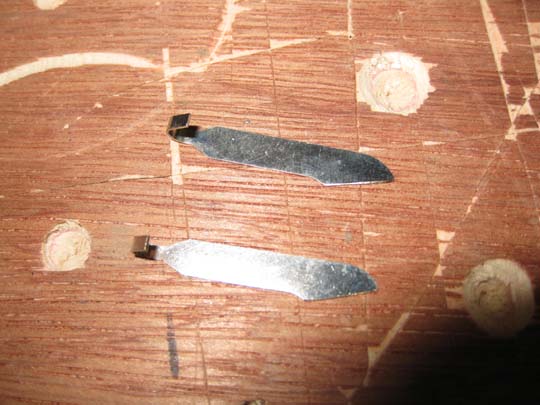
I then cut the contact support out of one of the bases. The one in the pic was cut with a wood chisel, but on later ones I used a Stanley knife which works better and leave less ragged edge. You can't use a hacksaw blade because you need it full length.
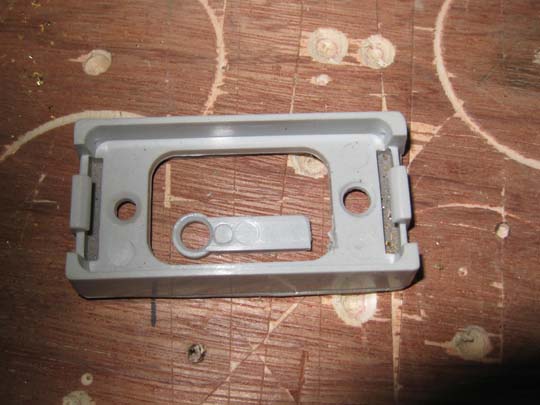
I set the loose support on wood block that fit inside the gasket and put the base in place. I located the opening of the support the same distance from the end as the already in place one, and .500" away to match the pins on the lamp that would plug into them.
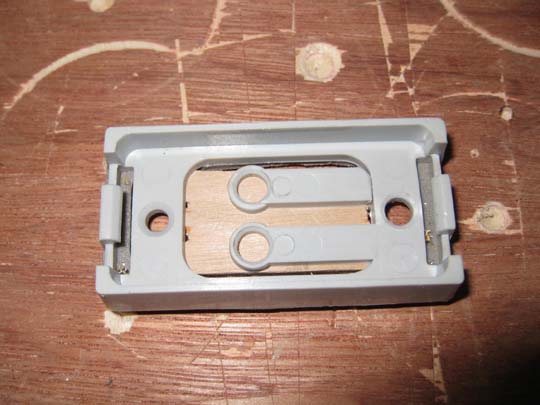
I held things in place by hand and "welded" the support in place with a soldering iron.
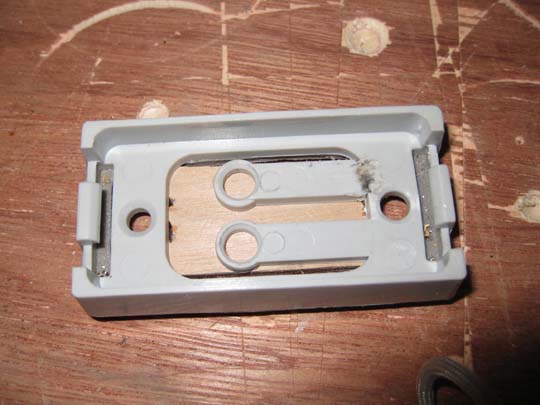
I turned it over and did the same on the backside, and then fill welded some of the side for extra strength, both top and bottom
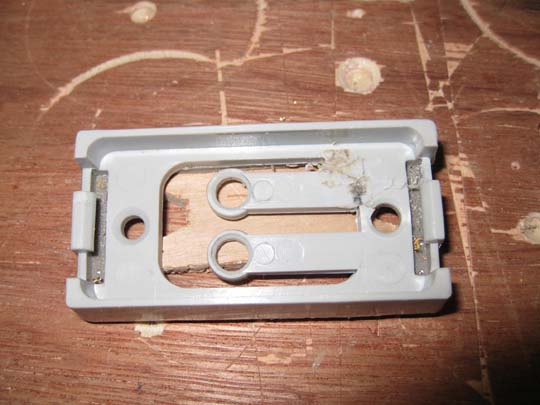
The contacts sit in well and are ready to be held in with 5 minute epoxy.
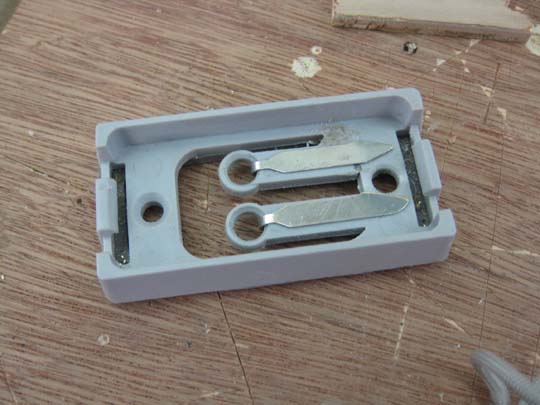
Here are three views of the finished base. Top, bottom, and with a lamp plugged in
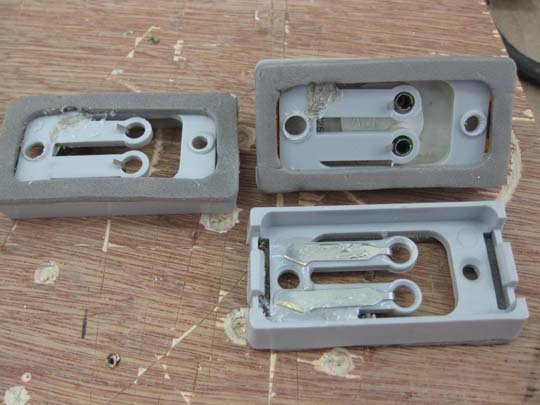
Closeup from the bottom with lamp in place. There should be just enough room (with the lamp out) to shorten the wires and solder them to the contacts, with the base already mounted to the van. I can then seal the wires and let it dry before snapping in the lamp. It should be able to be made leak free from the outside and also to the van for double protection against water.
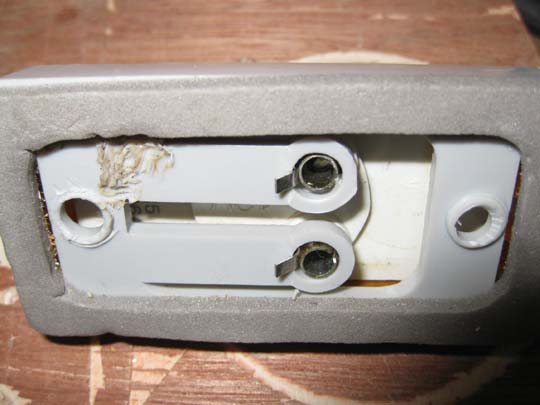
It takes ten bases at $1.79 to do this job. You only need to modify enough for 5 lights this way, as the ones in the AC cover don't go into the inside of the van. You can even use the bases you cut the support out of for the AC lights so the bases all match. The bases come in grey, black, and chrome (more money). I am hoping they will hold paint (nobody could tell me what they are made of-hoping ABS, not Polypropylene), but we will see. They grey will be OK with our silver roof though.
Once I figured out how to do it, I did the last four assemblies in less than an hour total, so it is not a big job at all, and doesn't require much for tools. I do think I would do this modification even if I wasn't painting the roof or had peeling chrome on the originals.