I am finally getting around to replacing my front coil springs, 02 Chevy 3500 RT 200 popular.
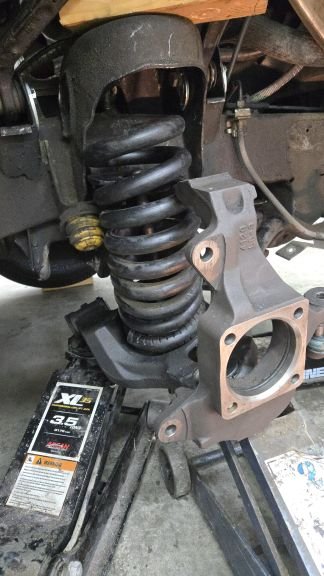
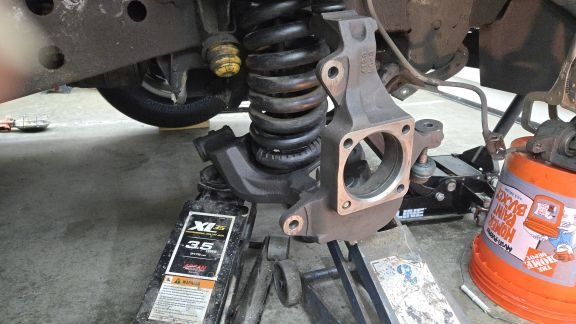
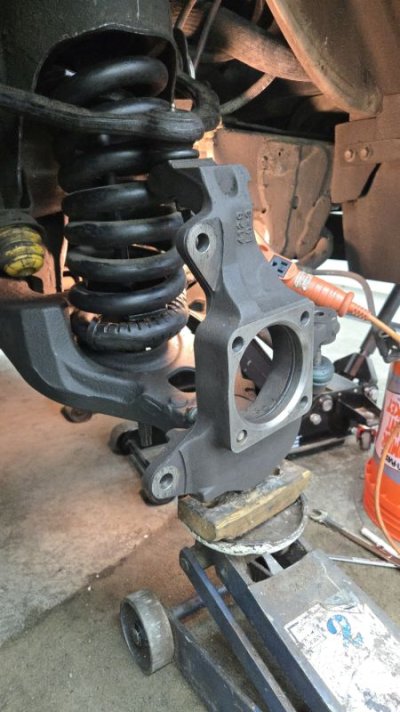
I have been reading and watching videos, I have it jacked up and partially disassembled.
I went and borrowed a spring compressor from Auto Zone came home and this does not fit in the springs! There are 2 types of internal compressors, one with hooks on each end and one with a bar on one end with hooks of the other. The one with the bar does not fit, there is not enough room between the the coils for the bar to fit and the hooks are too small for the coils I would not trust them even if they would go it.
So I started net surfing the internal ones with the hooks on each end if they state anything it is the compressors are not for coils springs with a diameter of larger than 3/4 inch! One even comes with a coil gauge to check!
These are Moog 81012 with a 1.03 diameter bar. Can;t anything be easy?